


Stovetop Makeover: Eliminating Burnt-On Residue Like a Pro
Posted on 18/09/2025
Stovetop Makeover: Eliminating Burnt-On Residue Like a Pro
Is your kitchen stove looking less than its best due to stubborn, burnt-on residue? Don't worry! Even the most pristine kitchens face that inevitable build-up of food spills and scorch marks. This comprehensive guide will help you achieve a flawless stovetop makeover: eliminating burnt-on residue like a pro. Get ready to discover expert tips, creative solutions, and sustainable cleaning methods that will leave your cooking surface sparkling.
Why Burnt-On Stovetop Residue Happens
Before diving into how to clean stovetops, it's important to understand why residue accumulates in the first place. Everyday cooking usually leaves traces of oil, sauces, and food particles. When these aren't cleaned immediately, heat cements them onto the surface, creating that tough, burnt-on mess that's difficult to scrub away.
- High-heat cooking (like searing or frying) can cause splatters that burn quickly.
- Overflowing pots and pans lead to spills that, if ignored, become baked-on residue.
- Sugar-based ingredients caramelize and harden rapidly, creating sticky buildup.
Understanding these causes allows you to plan for quick cleanups and preventative measures.

Essential Supplies for a Pro-Level Stove Cleanup
Successful stovetop cleaning starts with the right tools and products. Here's what you'll need for a thorough stovetop residue removal session:
- Non-abrasive scrub pads (to avoid scratching the surface)
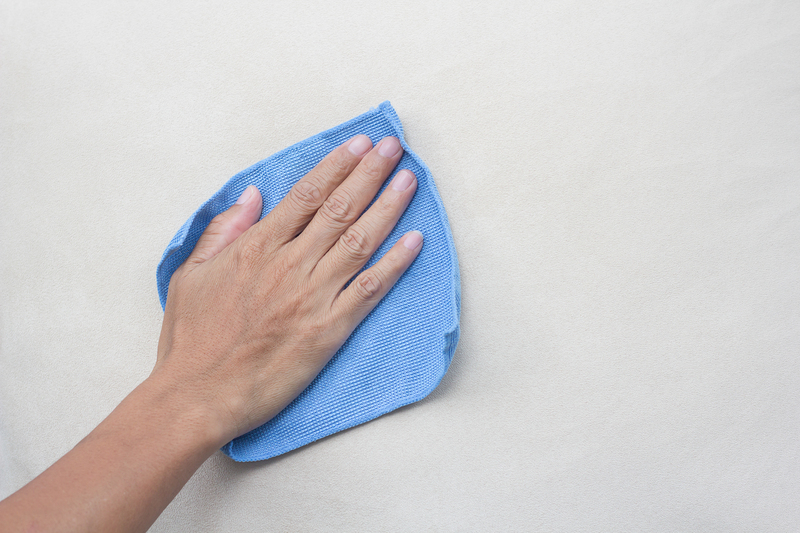
- Microfiber cloths for polishing
- Plastic scraper or spatula (for stuck-on residue)
- Baking soda and white vinegar (standard, natural cleaners)
- Dish soap with degreasing power
- Spray bottle for applying cleaning solutions
- Commercial stovetop cleaner (optional, for very tough jobs)
- Old toothbrush or detailing brush, for cleaning corners and crevices
Most of these supplies are probably already in your kitchen. They're ideal for tackling both ceramic glass stovetops and traditional coil burners alike.
Step-by-Step Guide: Eliminating Burnt-On Stovetop Residue Like a Pro
Let's break down the cleaning process by surface type, ensuring your stove makeover is tailored and effective.
Cleaning Glass or Ceramic Stovetops
-
Allow the surface to cool fully.
Working on a hot stove is dangerous and less effective. Wait until it's completely cool to avoid burns. -
Remove loose debris.
Wipe away crumbs and fresh spills with a dry microfiber cloth. -
Apply a homemade paste.
Mix baking soda and a few splashes of water to create a spreadable paste. Gently spread it across burnt areas. For added strength, spray white vinegar over the paste and let it fizz. -
Wait and soften.
Allow the mixture to rest for 15-20 minutes. This helps loosen the stubborn, burnt-on food. -
Scrub gently.
Use a non-abrasive scrub pad or a soft sponge. For extremely tough spots, a plastic scraper can be used at a shallow angle. Never use metal tools! -
Wipe clean.
Use a damp microfiber cloth to wipe away the paste and loosened grime. -
Polish for shine.
Buff with a clean, dry cloth for a streak-free, glossy finish.
Restoring Metal Coil Stovetops
Metal coil stovetops present unique challenges but are very resilient. Here's how to deep-clean them:
-
Remove the coils (if possible).
Unplug or disconnect the burners for safety. Lift coils gently out of their sockets. -
Clean drip pans.
Remove and soak the metal pans beneath the burners in hot, soapy water for 20-30 minutes. Scrub away burnt residue using a brush and rinse. -
Wipe the surface.
Use a sponge or scrub pad on the painted or stainless steel area under the coils. -
Scrape stubborn residue.
For tough, burnt-on areas, carefully use a plastic scraper and a bit of baking soda paste. -
Rinse and reassemble.
Dry components thoroughly before plugging burners back in or replacing coils.
Gas Stovetop Makeover: Eliminating Burnt-On Food
Gas stoves, with their grates and burners, require a few extra steps:
-
Remove grates and burner caps.
Soak grates and caps in hot, soapy water for at least 30 minutes. -
Degrease.
Scrub with a stiff brush or non-abrasive pad to dislodge baked-on gunk. For stubborn stains, make a paste with baking soda and leave it on the stains before scrubbing. -
Clean the stove surface.
Use a soft cloth, mild detergent, and water. Avoid letting water seep into the burner openings. -
Detail corners and seams.
Use an old toothbrush to reach crevices and knock loose hidden buildup. -
Wipe and dry.
Dry all parts thoroughly with a clean towel before reassembling.
Natural Solutions vs. Commercial Stovetop Cleaners
Some stains seem impossible to remove without harsh chemicals, but don't reach for toxic products just yet! Here's a comparison:
- Natural Cleaners (Baking Soda & Vinegar): Safe, eco-friendly, gentle on most surfaces, and very effective for eliminating burnt-on stovetop residue. Ideal for regular maintenance or moderate buildup.
- Commercial Stovetop Cleaners: Designed for very tough stains and rapid results. Always read labels to ensure suitability for your specific stove material. Avoid abrasive powders that scratch glass or ceramic.
Often, a combination works best--use natural cleaners for general upkeep and bring out the commercial products for periodic deep cleans.
Pro Tips for Preventing Burnt-On Residue
While cleaning is necessary, the best way to keep your stovetop pristine is to avoid major messes in the first place. Here's what experts recommend:
- Wipe up spills immediately. Fast cleanup prevents the need for heavy scrubbing later.
- Use lids and splatter screens when frying or simmering, containing food splashes.
- Line drip pans with aluminum foil (on coil stoves) for easy removal.
- Conduct weekly mini-cleanups--a quick wipe-down keeps residue from accumulating.
- Apply a protective barrier (like a drop of olive oil) to make future cleaning easier, especially on ceramic cooktops.
Common Mistakes When Removing Burnt-On Stove Residue
To give your stovetop the ultimate makeover, 'eliminate residue like a pro' by avoiding these pitfalls:
- Using metal scrapers or steel wool. These WILL scratch modern glass and ceramic surfaces--always choose plastic or silicone tools!
- Skipping the soak step. Allowing time for cleaning solutions to penetrate is crucial for loosening caked-on food.
- Letting water drip into burners. This can cause malfunction or dangerous sparks. Clean with a damp, not dripping, cloth.
- Using highly abrasive cleaners. Many powders and harsh chemicals cause permanent dullness or damage.
When to Call in a Professional
Sometimes, DIY cleaning just doesn't cut it, especially if years of burnt-on grease have caused discoloration or damaged components. Call a professional if:
- You notice burner malfunction or uneven flame distribution.
- There is persistent charring you can't remove, even with strong cleaners.
- Metal components show signs of rust or severe corrosion.
- Your stove's warranty requires maintenance by certified technicians.
A pro-clean will not only restore appearance but ensure your stove operates safely and efficiently.
Maintaining Your Stovetop: A Cleaning Schedule
Consistency is key if you want a gleaming, residue-free stovetop. Here's a simple cleaning schedule you can follow:
- After each use: Wipe up any fresh spills with a damp cloth.
- Once a week: Do a slightly deeper clean, focusing on grates and burner areas.
- Once a month: Tackle baked-on residue and deep-clean removable parts.
- Seasonally or as needed: Conduct a professional-level stove makeover to eliminate stubborn stains and restore shine.
The Eco-Friendly Way: Sustainable Stovetop Cleaning
If you're interested in green cleaning, you're in luck! Most burnt-on stovetop residue can be eliminated using natural, non-toxic supplies. Try these eco-friendly solutions:
- Lemon juice: Natural acidity helps break down greasy buildup and leaves a fresh scent.
- White vinegar: Dissolves mineral stains and sanitizes surfaces.
- Baking soda: Gently abrasive yet safe for most cooktops; excellent for regular use.
Reduce waste by using washable cloths instead of paper towels, and avoid single-use cleaner wipes whenever possible.
Stovetop Makeover FAQs
How do I remove extremely burnt-on residue that won't budge?
Patience is key. Repeated applications of a baking soda-vinegar paste, coupled with soaking and gentle scraping, usually do the trick. For severe carbonized spots, look for a stovetop cleaner formulated for your stove material.
Can I use commercial oven cleaner on my cooktop?
What about induction cooktops?
Is there a way to prevent future residue from sticking?
Conclusion: Enjoy a Stovetop That Shines Like New
Anyone can turn a dingy stove into a culinary showpiece with the right knowledge and a little elbow grease. Whether you're tackling burnt food stains on glass, ceramic, or metal, our stovetop makeover guide will help you eliminate burnt-on residue like a pro. Remember: regular attention, the correct supplies, and smart prevention are the keys to long-lasting results. Maintain your stovetop's beauty and performance--your kitchen will thank you!
Ready for a kitchen that feels brand new? Start your stovetop makeover today and let every meal begin on a spotless, sparkling surface.